
Management through Console
🚧 Permissions Required Access to webhook management is strictly limited to users with Admin privileges. If you do not see these options, please contact your account administrator.
Webhooks allow your system to receive real-time notifications about events happening on your BCB Group account (such as transaction settlements or account creation).
Follow this step-by-step guide to configure and manage your webhook subscriptions.
Step 1: Navigate to Webhooks Log in to the BCB Group Console.
From the left-hand navigation menu, scroll down to the Developers section.
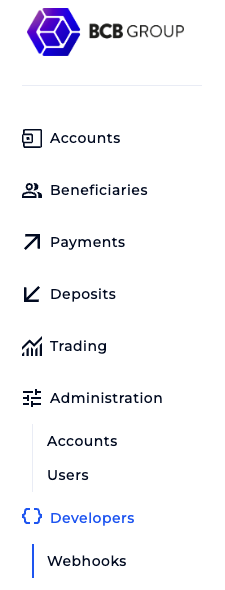
Click on Webhooks.
Step 2: Select Your Entity In the Webhooks dashboard, you will see your API configurations (e.g., Production API).

Click on your active profile (e.g., Production Support) to expand the configured webhooks table.
Here, you can review any existing endpoints, their current subscription topics (such as Transaction Settled or Payment Status Updated), and the specific Account IDs they are tied to.
Step 3: Create a New Webhook To add a new webhook subscription, locate and click the Create Webhook button.
- Select Your Accounts In the creation modal, click the Accounts dropdown.
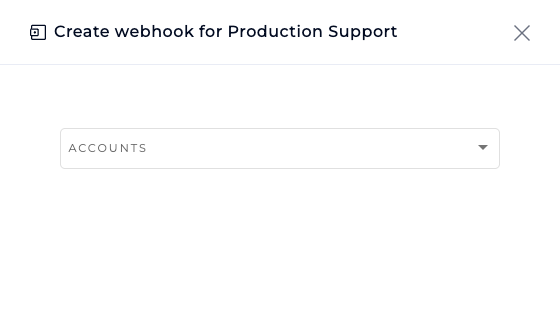
Select the specific account(s) you want to create the webhook for (e.g., Production Support - EUR, or a virtual account option).
- Configure the Target URL In the URL field, enter the fully qualified destination endpoint where BCB should send the HTTP POST payloads (e.g., https://yourdomain.com/webhook).
⚠️ Note: The console enforces URL validation. Ensure your entry includes the proper protocol (https://) and is a valid format to avoid the "A valid URL is required" error.
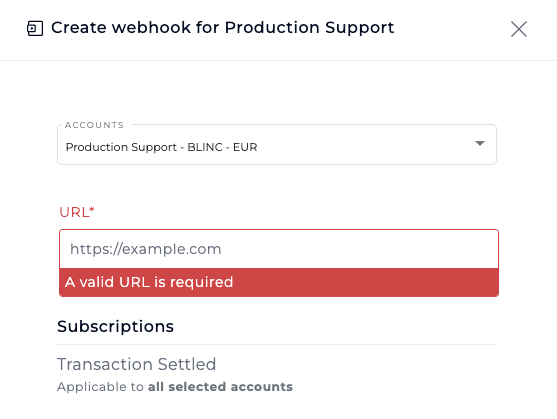
- Choose Event Subscriptions Depending on the types of accounts you selected, choose the specific events you want to subscribe to. Available events include:
Transaction Settled(Applicable to all selected accounts)Account Created(Applicable to virtual accounts only)Account Closed(Applicable to virtual accounts only)Account Failed(Applicable to virtual accounts only)
-
When you select a Virtual Account from the dropdown menu, you will unlock advanced notification routing options. You will be presented with the flexibility to split these events across completely separate endpoints by clicking + Set different URLs for each subscription.
This allows your system to process distinct lifecycles to different destination URLs:
These events are:
- Success / Creation Events
- Failure Events
- Settlement Events
- Closure Events
Updated 4 months ago